|
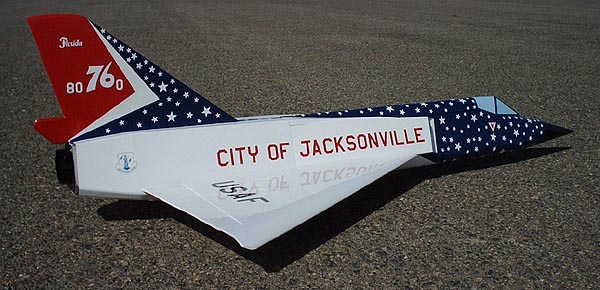
Convair
F-106 Delta Dart |
 |
|
Convair
F-106 Delta Dart |
|
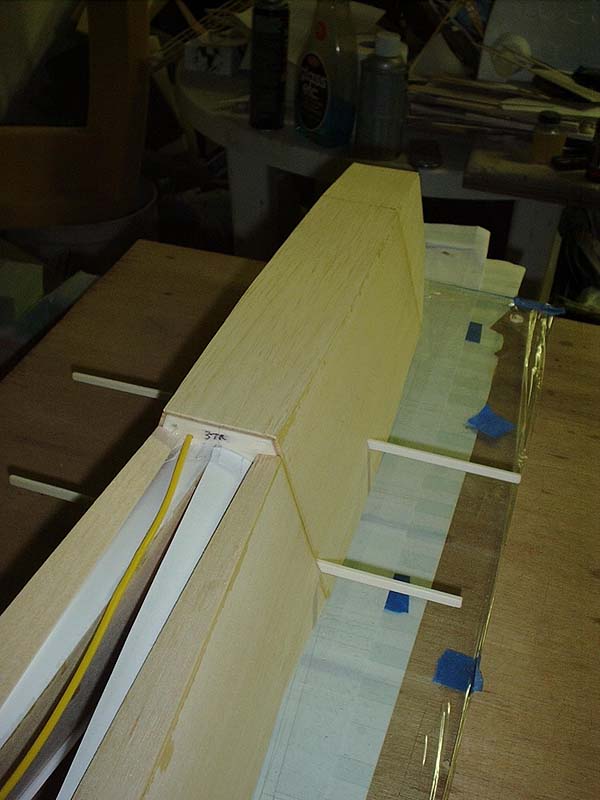
| Rear Fuselage Construction | |
 |
 |
|
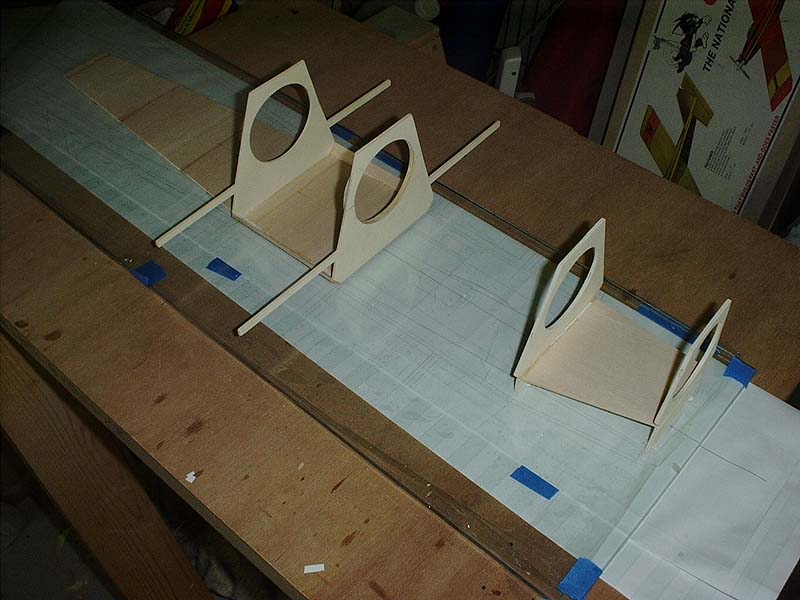
First, drill three evenly spaced holes in the bottom of B7 and B8 to feed the servo extensions and motor power wires through. Using 3/32" contest balsa, make up the middle cross-grain fuselage bottom FB2 that is below bulkheads B6 through B8 and attach it to the building board over the plans. Align and lightly glue bulkheads B7 and B8 to the cross grain fuselage bottom. Use a building square to make sure these are perpendicular to the building board. |
Attach the jig pieces J9 and J10 over the plans at the location of bulkheads B9 and B10. Align and tack glue the fuselage bottom FB3 to the jig pieces, then lightly glue bulkheads B9 and B10 to the fuselage bottom FB3. Use a building square to make sure these bulkheads are perpendicular to the building board. Using 3/32" contest balsa, sheet the lower beveled corners of the bulkheads B7 through B10. Glue the B8F doubler to the forward face of B8. |
 |
 |
|
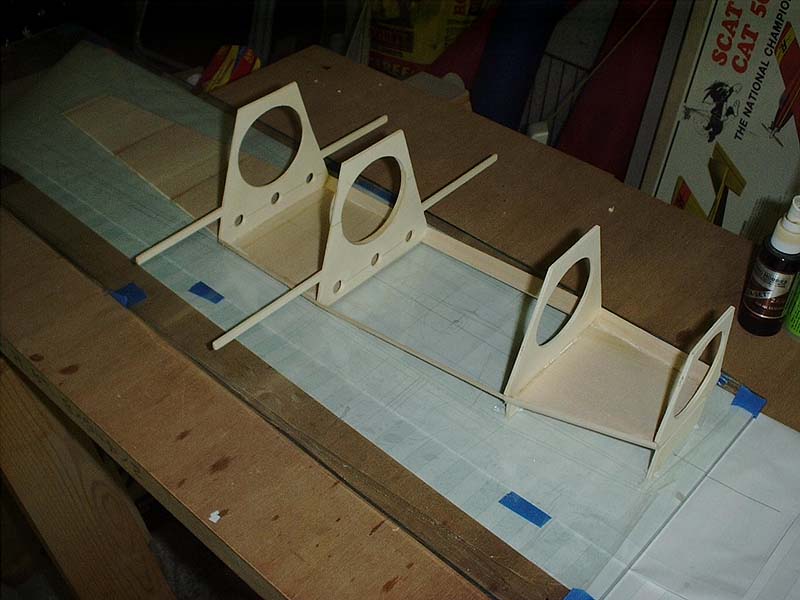
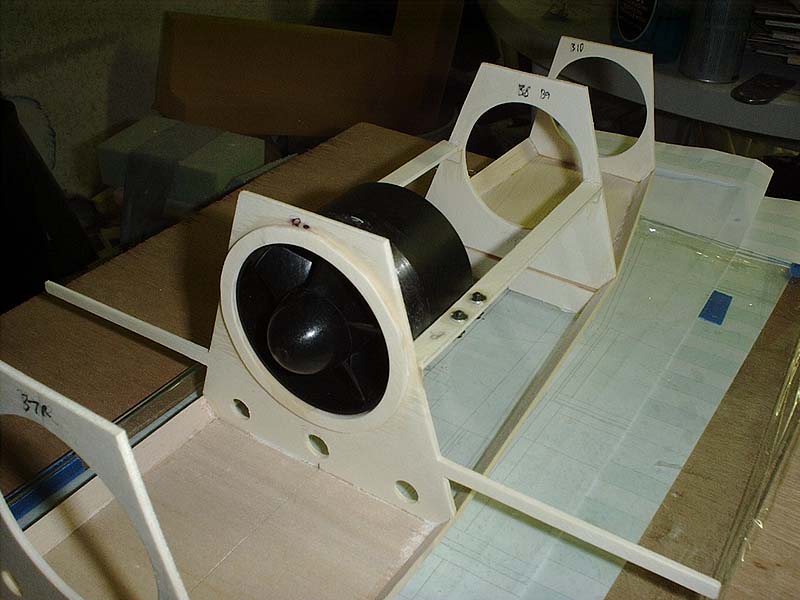
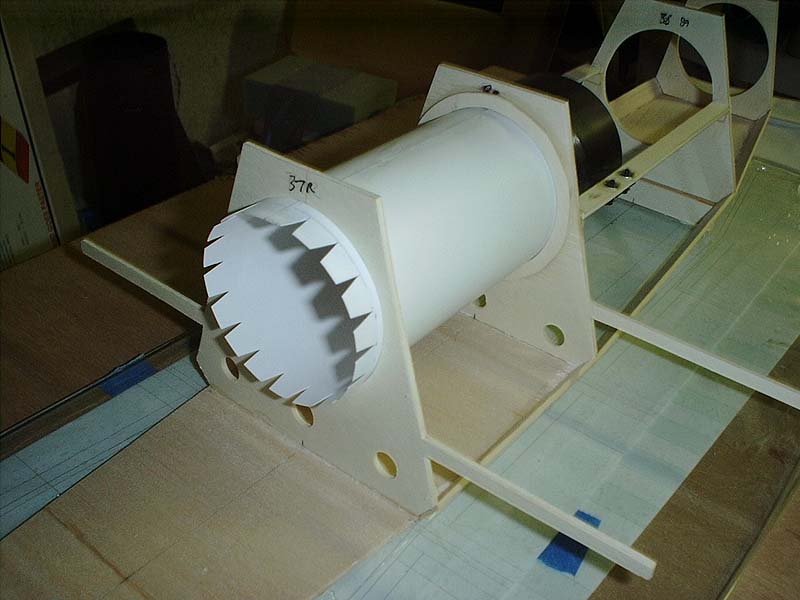
Using the side view of the plans, measure and mark the location of the fan mounting rails onto the rear face of B8R and the forward face of B9. Glue 4 pieces of scrap lite ply so that the fan mounting rails will be properly aligned. Measure and mark the location of the fan mounting holes on the mounting rails. The front of the fan shroud should be even with the glue joint between B8F and B8. Once you're satisfied with the fit, drill the holes and mount the 2-56 blind nuts into the fan mounting rails. Remember that the access to the fan is from the hatch at the bottom of the rear fuselage, so mount the blind nuts to the top of the rails. Bolt the fan to the mounting rails and glue the rails to bulkheads B8 and B9. |
Make up the rear inlet duct tube using heavy paper stock. I used 100# bristol paper, rolled into a tube and joined with a lap-joint. Slide the rear duct into place between B7 and B8F. Mark the location of B7 onto the rear duct tube, then slide the duct tube out and cut the glue joint notches that will form gluing tabs that will be used to join the forward inlet ducts to the rear inlet duct. Re-install the rear duct and glue to bulkheads B7 and B8F. Once the glue has dried, remove the fan unit and set it aside. |
 |
 |
|
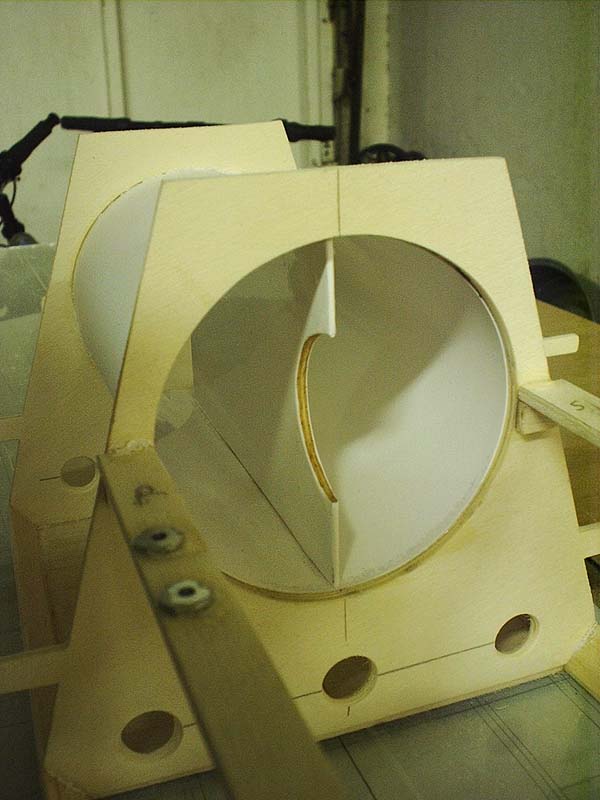
Glue 3 pieces of 1/32" contest balsa to each other making sure to cross the grain to make the balsa ply duct splitter plate. Cut this so that it's length is the same distance between bulkheads B7 and B8F. Then trim it so that it will fit inside the duct. Once it is the correct size, trace and cut out the rear portion so that it fits over the fan unit spinner. Make sure to leave at least 1/16" clearance between the spinner and the splitter plate. When you are satisfied with the fit, remove the splitter plate and round the trailing edge only. Do not round the leading edge of the splitter plate or the spinner cut-out. Cover the sides and trailing edge of the splitter plate with white Monokote or similar. Leave the front, top, bottom and spinner cutout bare balsa. |
Slide the splitter plate back into the duct
and align it so that it is perpendicular to the building board. Make sure
that the trailing edge does not protrude further aft than the rear edge
of the ducting. If necessary temporarily hold or screw the fan unit into
place to make sure that it doesn't touch the splitter plate.
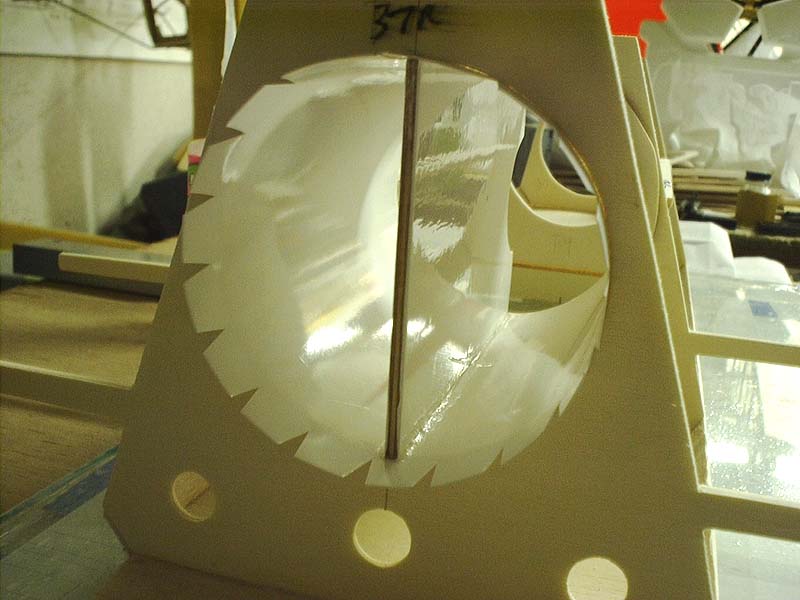
Remove the fan unit and tack glue the botton edge of the splitter plate to the duct. Tack glue the upper leading and trailing edge corners of the plate to the duct. Then run a bead of glue along the seam of the lower edge of the splitter plate and the ducting. Once the fuselage has been removed from the building board, run a bead of glue along the upper seam. |
|
Construction time from zero to this point took about 4 hours. Next step is the construction of the middle fuselage and inlets. Once that is done, the rear portion of the fuselage may be sheeted with 3/32" contest balsa. |
|
|
|
|
 |
 |
|
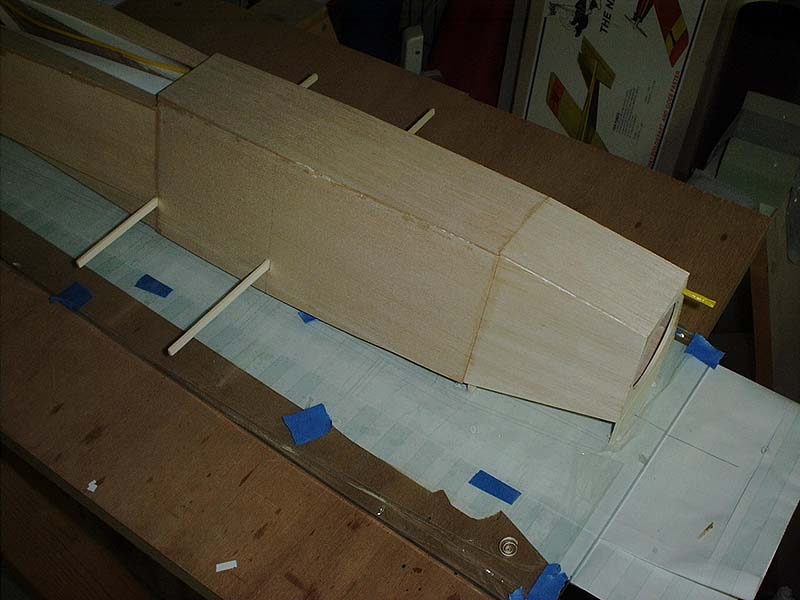
Cut out and notch the forward 3/32" balsa side pieces FS2 so that the will slide easily over the wing stub spars. Position the FS2 pieces and tack glue them to bulkheads B7, B8 and B9 using thin CA glue. The tops of the balsa sides should protrude very slightly above the tops of the bulkheads. This will allow the top of the fuselage sides to be beveled so that the top sheeting will form a flush glue joint. Use thin CA glue to glue the FS2 pieces to the lower corner sheeting. Position and glue the 3/32" balsa side pieces FS3 between bulkheads B9 and B10 in the same manner used to glue the FS2 pieces into place. Align these to match the tops of the FS2 pieces. |
Once the glue has dried, use medium CA glue to make glue fillets between the side pieces FS2, FS3 and bulkheads B7 through B10. Glue the fuselage top FT2 and FT1 to bulkheads B7 through B10 and fuselage sides FS2 and FS3. At this point, the fuselage is ready to be pulled off the building board. Make sure to run a bead of glue between the top of the rear balsa splitter plate and the rear duct. Run beads of glue along the top and bottom seams of the forward inlet ducts and the 3/32" balsa duct walls.
|
|
Construction time to this point took about 3 hours. Next step is the construction of the middle hatch, rear hatch elevon servo mounts and final assembly.. |
|
| Forward
Fuselage | Rear Fuselage | Middle
Fuselage & Inlets Home | Wings | Fuselage | Fan | Servos | Final Assembly | Covering | Finish | Components | Flight | Gallery |
|