|
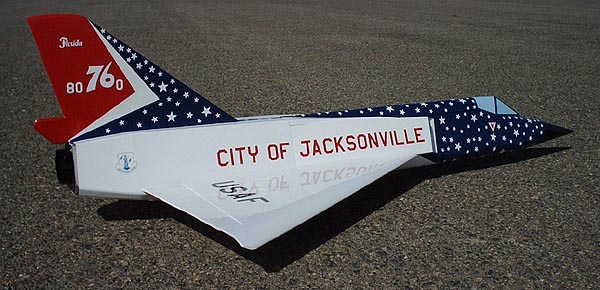
Convair
F-106 Delta Dart |
 |
|
Convair
F-106 Delta Dart |
|
| Forward Fuselage Construction | |
 |
 |
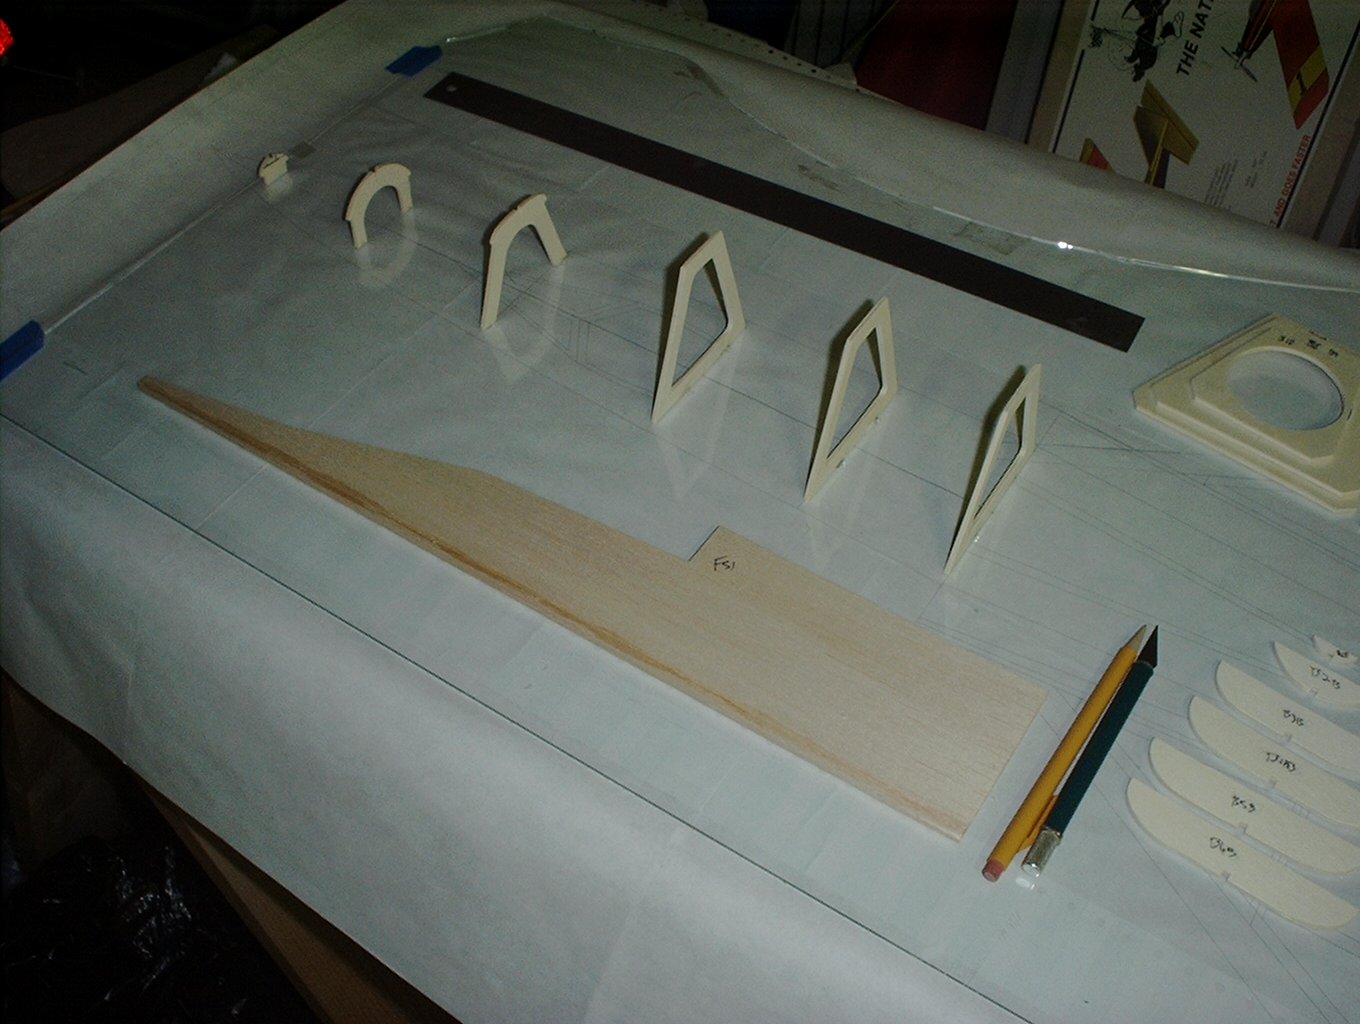
| This is the start of the forward fuselage construction. Place 1/8" lite ply bulkheads B1 through B6 over the plans. | Glue an internal framework to the 3/32" side pieces FS1 using 1/8" balsa strip stock. |
 |
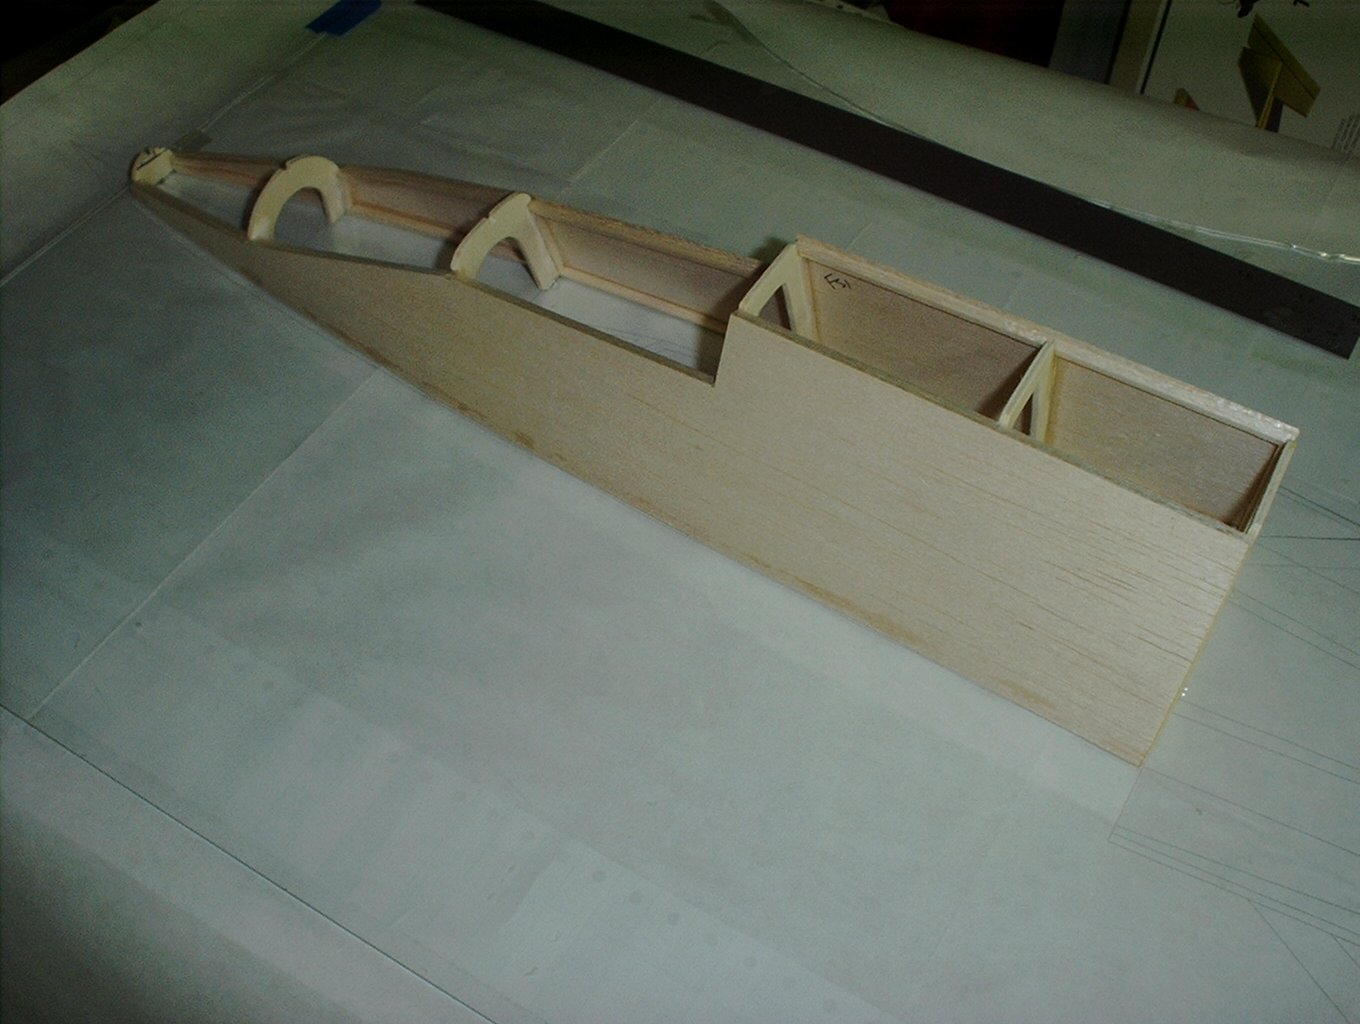 |
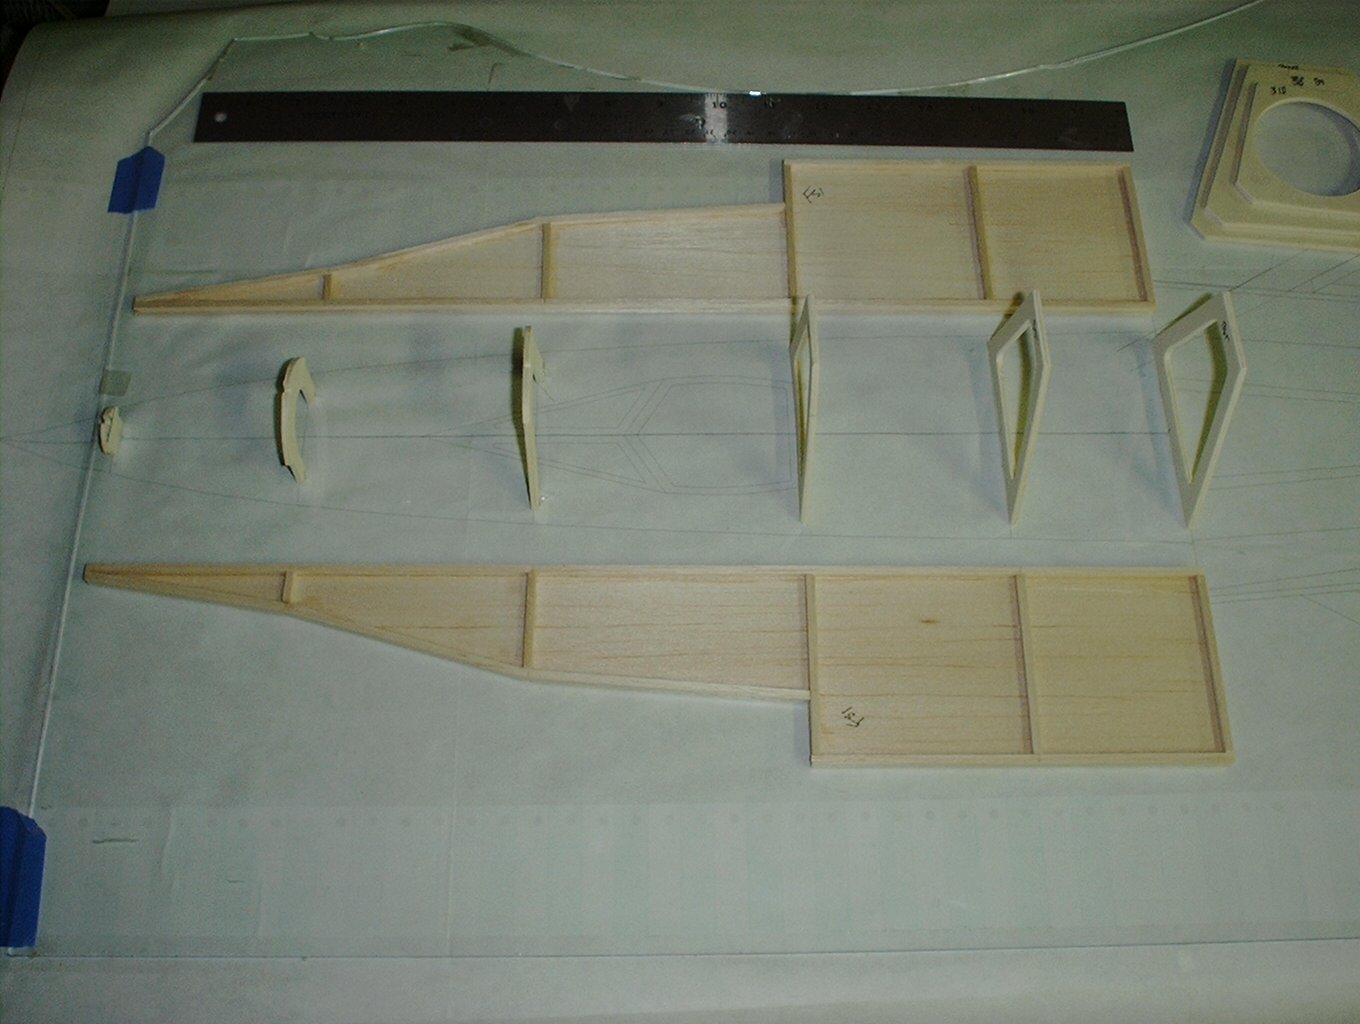
| Bevel the bottom of each FS1 between bulkheads B3 and B6 so that the outer sheeting sits flush with the bottom of the bulkheads. Glue each side piece to the bulkheads working forward from B6 to B1. | Both FS1 side pieces are in place. |
 |
 |
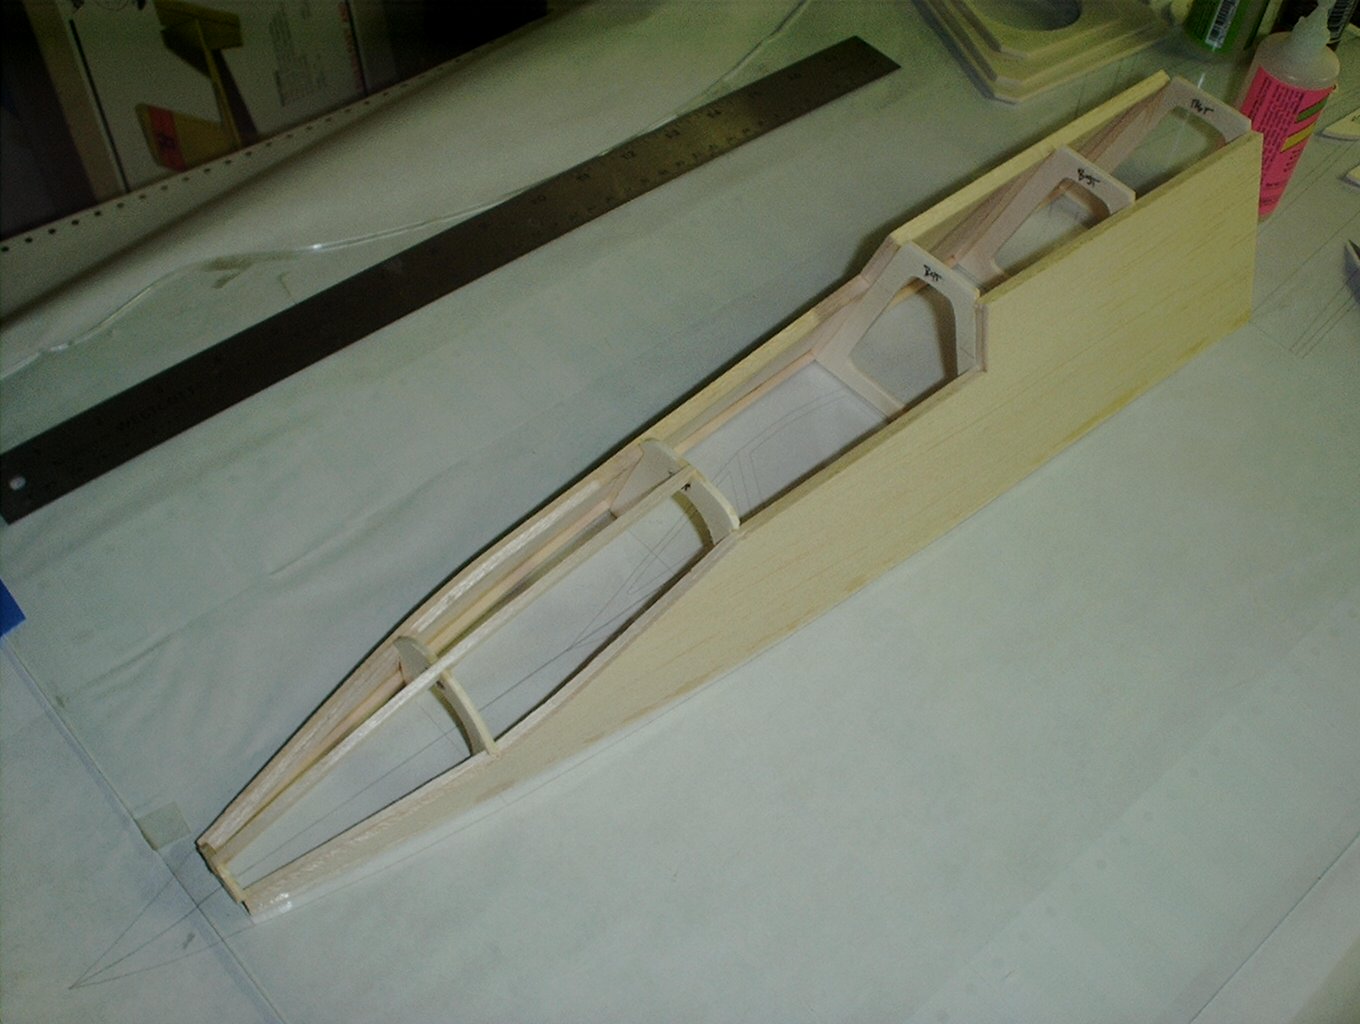
| Glue the 1/8" stringer into the notches in the tops of B1 through B3. |
Using soft 3/32" balsa, sheet the areas between B1 and B2 and the top of FS1 and the 1/8" stringer. |
 |
 |
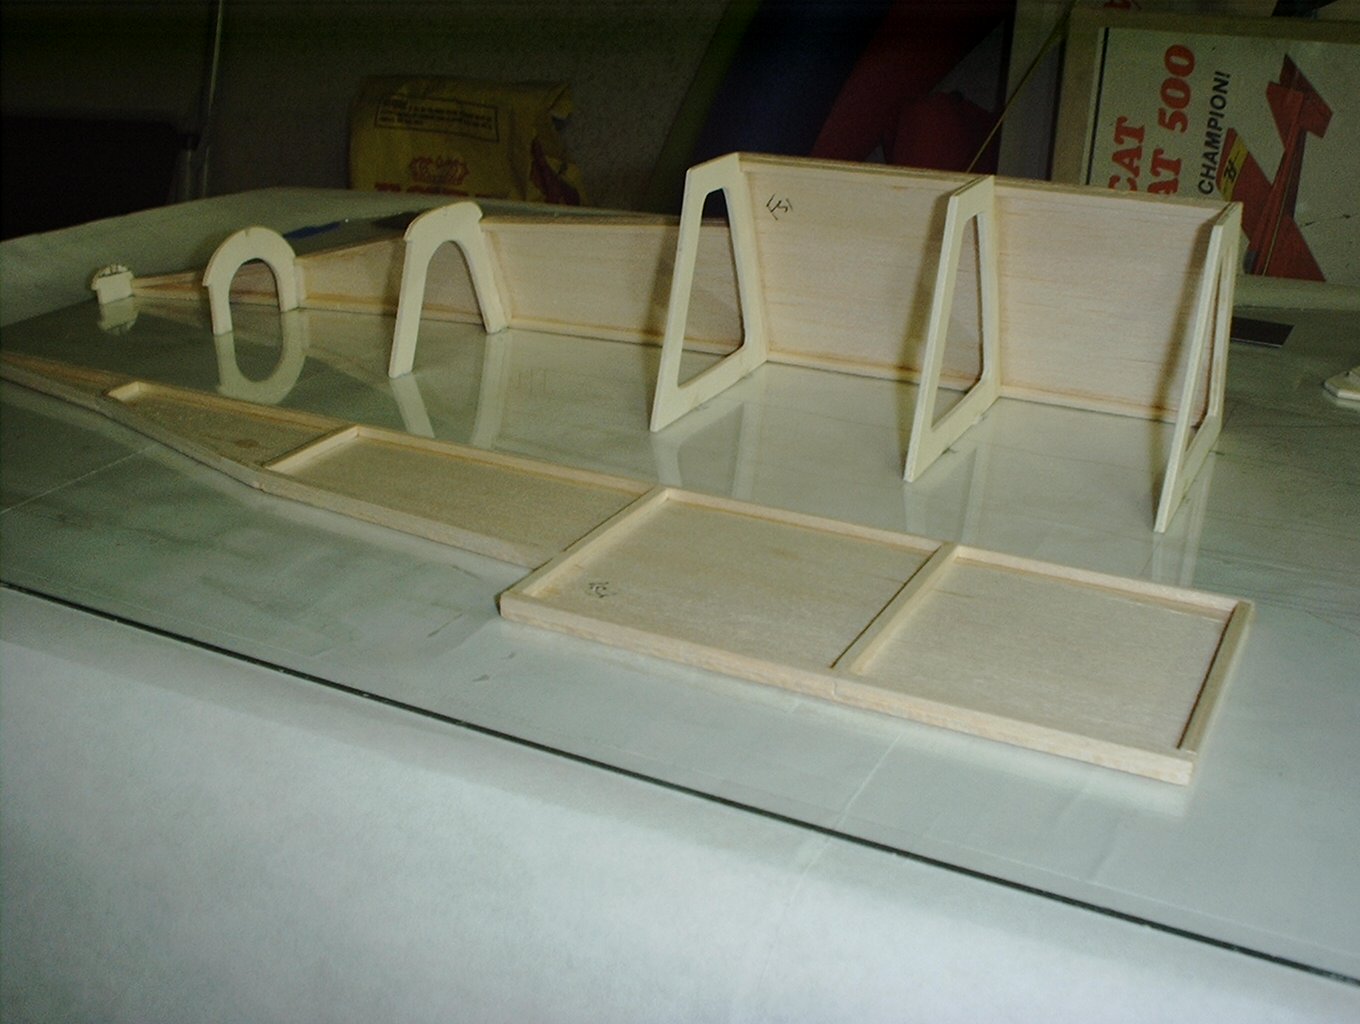
| Using the same soft 3/32" balsa, sheet the areas between B2 and B3 and the top of FS1 and the 1/8" stringer. | Tape the 3/32" balsa rear hatch base over B4-B6. Glue 1/8" lite ply hatch formers H3-H5 over B4-B6. Glue 1/8" balsa stringer into the notches in the top of H4-H6. |
|
|
|
 |
 |
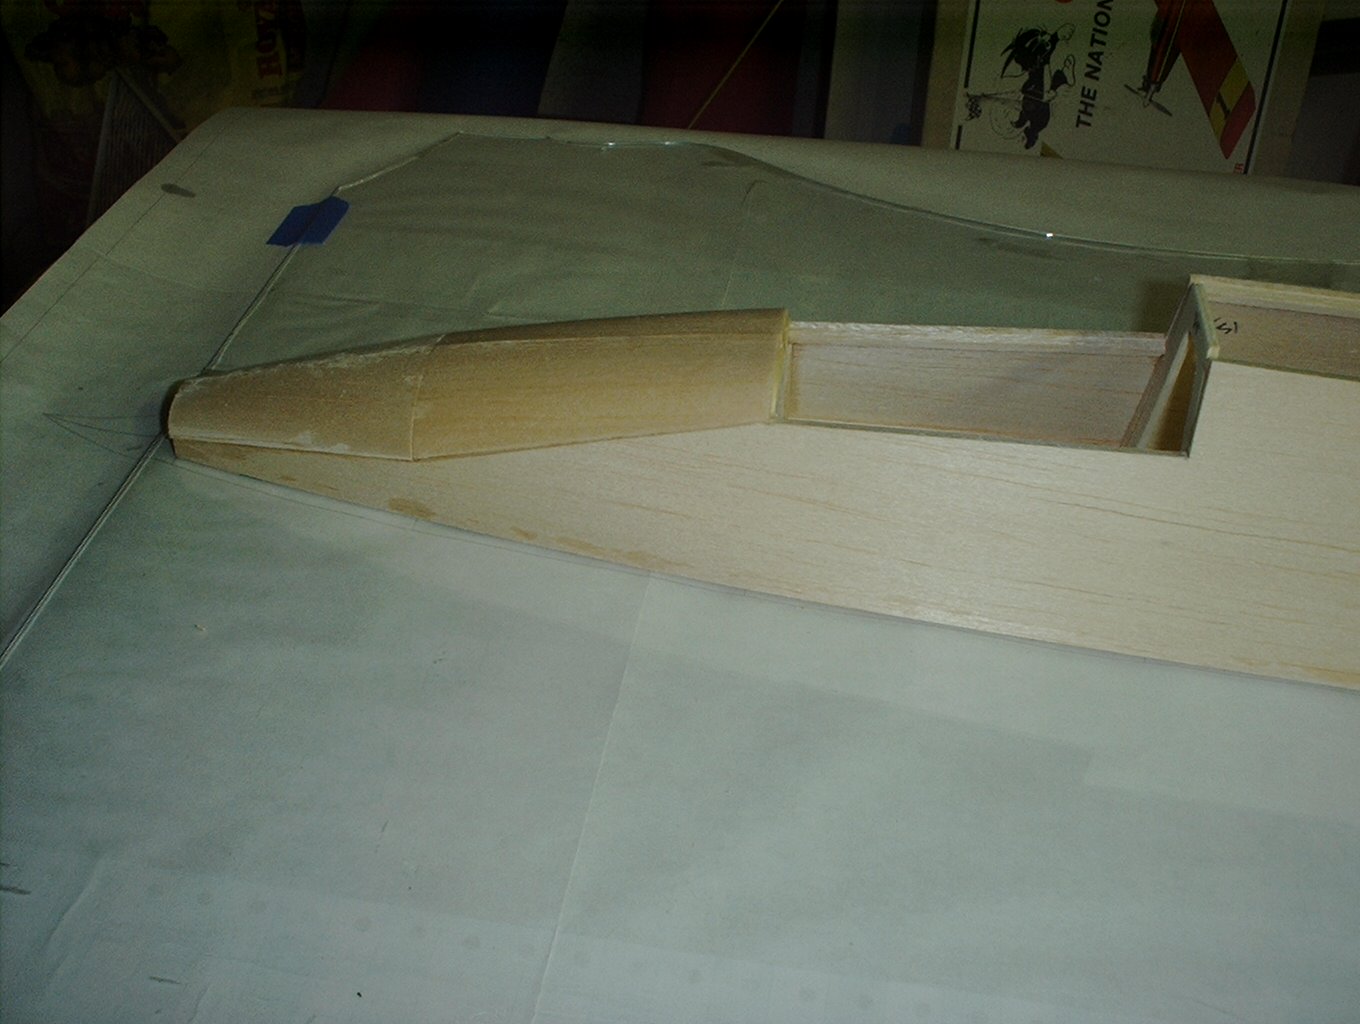
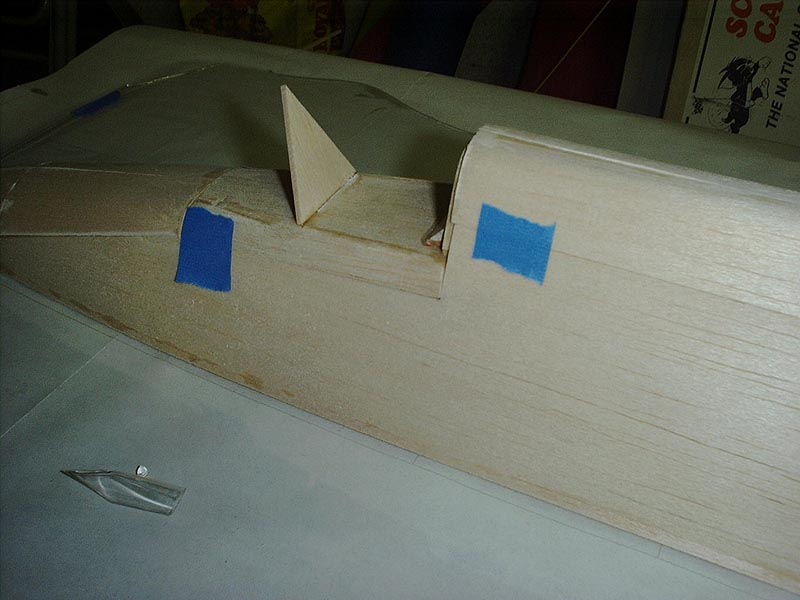
| Using 3/32" soft balsa, sheet over H3-H5. place the 1/2" soft balsa cockpit hatch between B3 and B4. Mark the outlines of B3 and B4 and the fuselage sides. Remove the hatch and shape using a razor plane and sanding block. When satisfied with the fit, tape into place. Mark the location of the canopy frame former onto the cockpit hatch and glue into place. | Glue H2 to the canopy hatch and to H3. Glue a 1/8" balsa stringer between H2 and the canopy frame. Bevel the stringer to match the angle of the sides of the canopy frame. |
 |
 |
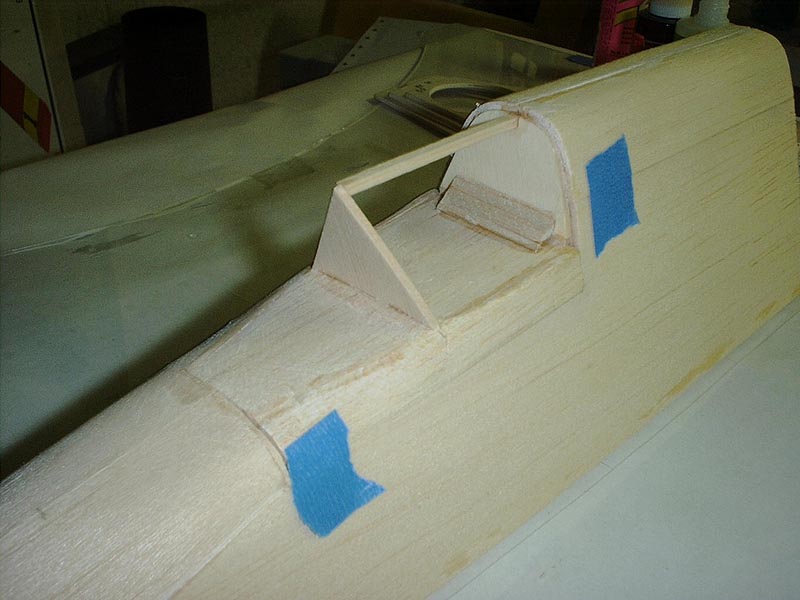
| Glue the 3/32" balsa canopy sides between the canopy frame and H2. Bevel the top and bottom of the windscreen pieces then glue them between the canopy frame and the canopy hatch. Be careful not to glue the windscreen pieces to the nose section sheeting. | Once the glue has dried, remove the canopy from the forward fuselage and remove the forward fuselage from the building board. |
 |
 |
|
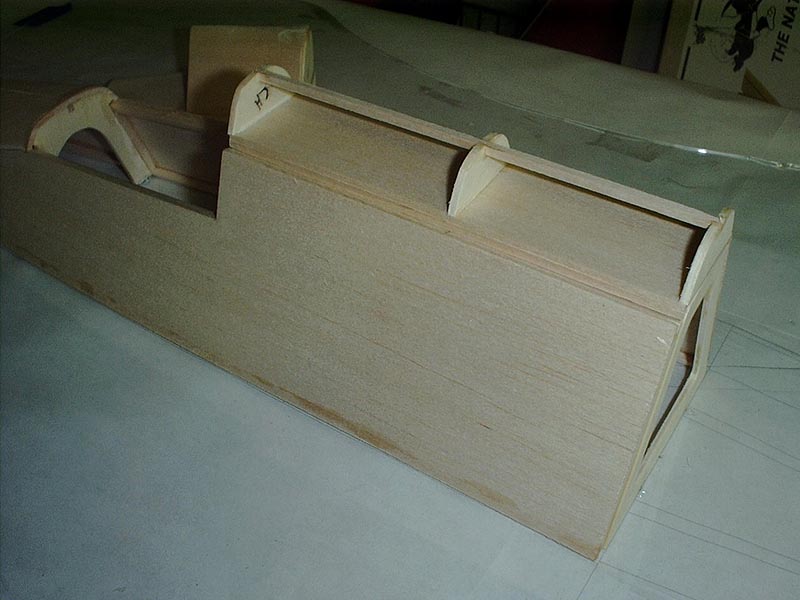
Make up the cross-grain cockpit floor using 1/16" contest balsa sheet. Lay the cockpit section down onto the floor and glue into place along both bottom edges and along the base of each bulkhead. Once the glue has dried, pop this up and glue bulkheads B1B through B6B to the cockpit floor. |
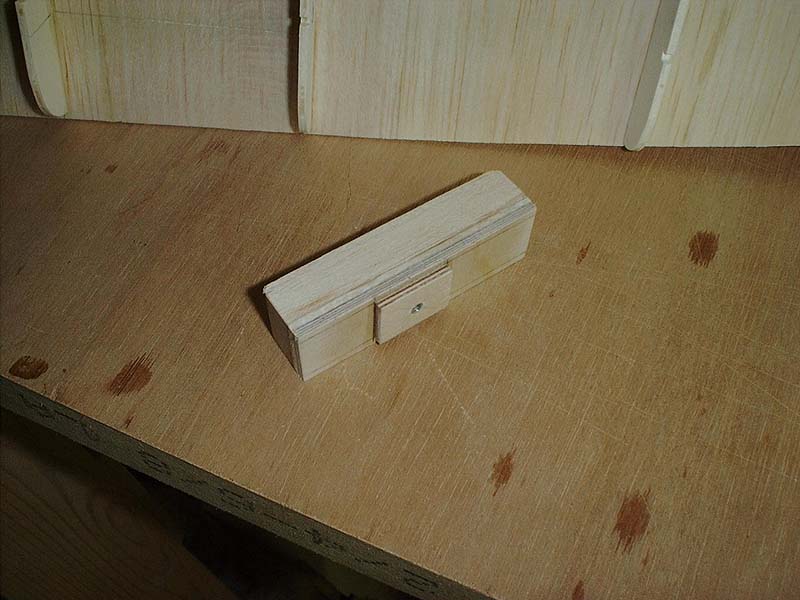
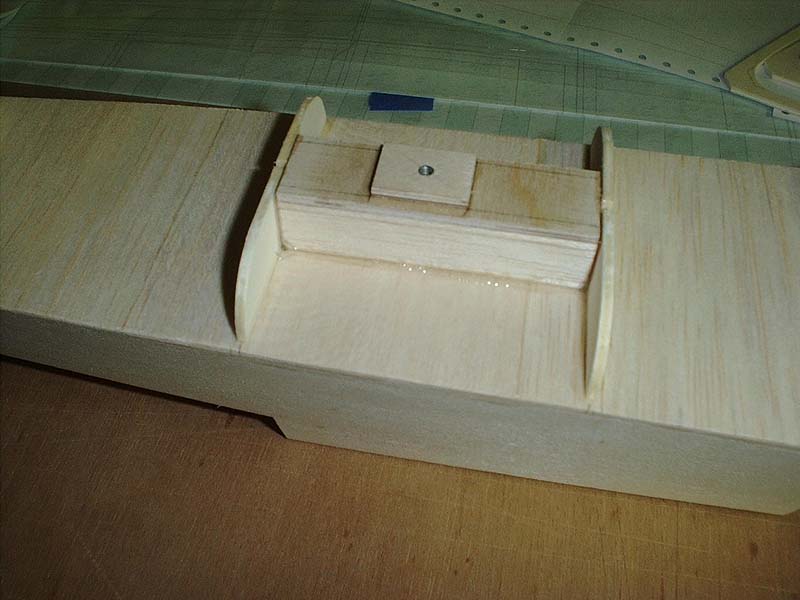
Using 1/8" birch ply and soft balsa blocks, make up the tow hook mount that will be mounted between B4B and B5B. Be sure to install the blind nut before gluing the plywood to the soft balsa block. The base of the small square of plywood should be flush with the top of the bottom bulkheads so that once the bottom balsa sheeting is added, the face of the small plywood square will be flush with the outside of the sheeting. |
 |
 |
| Align and glue the tow hook mount to the cockpit floor, B4B and B5B using 5 minute epoxy. | Glue 1/8" square balsa strip stock into the notches in bulkhead bottoms B1B through B4B and between B5B and B6B. |
|
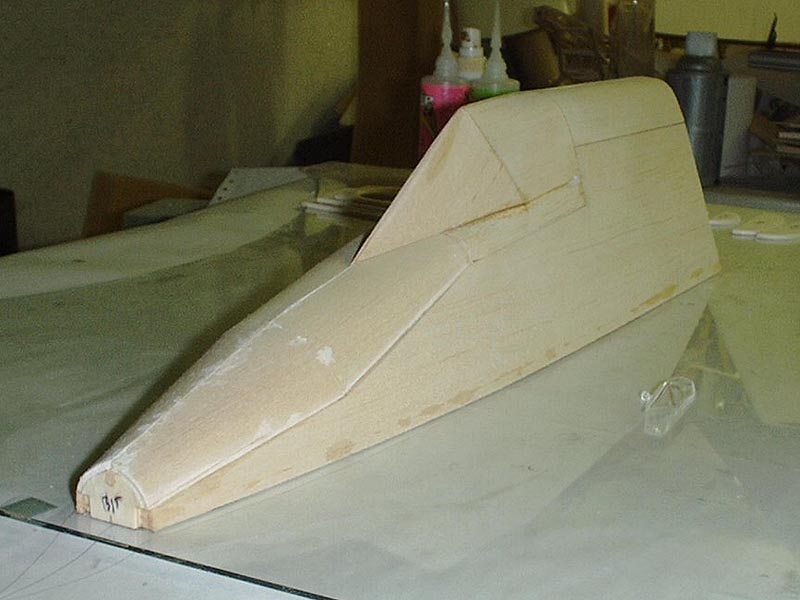
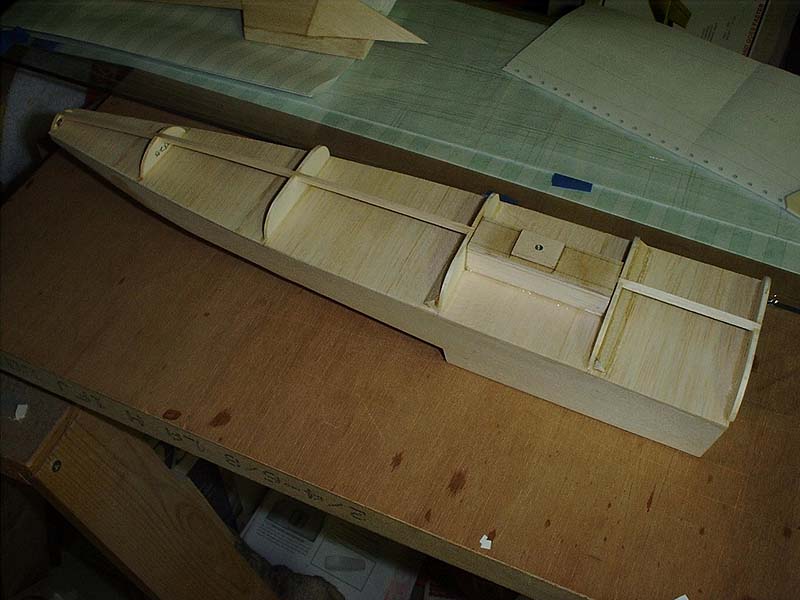
Mark the location of the small piece of plywood on the tow-hook mount on fuselage bottom FB1 and open it up. Leave 1/16" of B6 exposed when positioning FB1 on the bottom of B6 so that FB2 can be joined to the bottom of B6 using a lap-joint during later fuselage section assembly steps later on. Glue FB1 to the tow hook mount and bulkheads B3 through B6. Using 3/32" contest balsa, sheet the rest of the bottom of the cockpit section. If the face of the plywood tow hook mount isn't flush with the outside of the balsa sheeting, sand it flush now using a sanding block. Carefully sand FB1 so that it is flat and smooth. Construction time from zero to this point took about 8 hours. Next step is the construction of the rear fuselage. |
|
| Forward
Fuselage | Rear Fuselage |
Middle Fuselage & Inlets Home | Wings | Fuselage | Fan | Servos | Final Assembly | Covering | Finish | Components | Flight | Gallery |
|